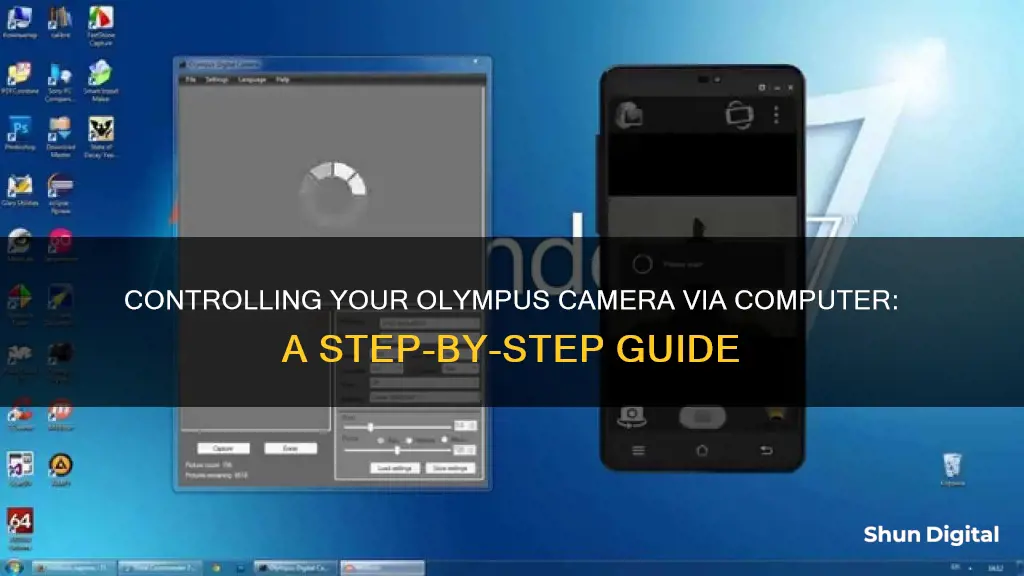
There are several ways to connect and control your Olympus camera with your computer, including using a USB cable, an SD card, or a wireless connection. Olympus also offers its own Studio 2 software for controlling your camera via PC, and there is third-party software available for both wired and wireless tethering.
Characteristics of Controlling Olympus Camera with Computer
| Characteristics | Values |
|---|---|
| Connection Type | Wired (USB cable, SD card reader) or Wireless |
| Software | Olympus Studio 2, Olympus Capture, OM Capture, OM-D Webcam Beta, Elgato Cam Link 4K, Image Share App |
| Camera Models | Tough TG-6, E-M1 Mark III, E-M5 Mark III, E-420, E-3, OM-D E-M1 Mark II, OM-D E-M1 Mark III, OM-D E-M5 Mark II, OM-D E-M1 F/W version 2.0 or later |
| Pros | Faster file transfer, improved image quality, enhanced workflow, ability to use the camera as a webcam |
| Cons | Requires additional equipment (cable, card reader, external power source), may not support Live View function |
What You'll Learn
![]()
Using a USB cable
- Connect the micro USB end to your Olympus camera. The USB port on your camera is likely labelled "USB", and the connector should fit snugly without requiring much force.
- Connect the USB A end (the larger, rectangular end) to a USB port on your computer.
- Turn on your Olympus camera, and wait for a prompt to appear on your computer.
- You can now view, upload, and delete your photos and videos on your computer. Simply select the files you want to move and drag them to the desired folder on your computer.
It is worth noting that when using a USB cable with the Olympus Studio 2 software for remote control of certain Olympus cameras, the Live View mode on the camera's LCD display may not be available. In such cases, an external screen can be connected via a video cable to generate a "live image".
Low Power Mode: Impact on Camera Quality
You may want to see also
![]()
Using an SD card
To use this method, you will need an SD card reader. A recommended option is the Anker 2-in-1 with USB 3.0, which is compatible with both SD and micro SD cards. This type of USB connection is 10 times faster than USB 2.0, offering a maximum bandwidth rate of 5 Gbps (640 MBps).
Once you have your SD card reader, simply insert your SD card and connect the reader to your computer. You can then access your files and transfer them to your computer.
After you have uploaded your photos and videos, it is recommended to format your SD card. This will delete the data and prepare the card for future use. You can format the SD card in your camera or using your computer. Formatting in-camera is generally recommended as it sets up the card with the correct file system and folder hierarchy, reducing the risk of errors. However, if you are dealing with sensitive material, you may want to perform a low-level format on your computer to ensure that all data is wiped from the card.
Arizona Camera Tickets: Do You Have to Pay?
You may want to see also
![]()
Wireless connection
- Check Wireless Capability: Not all Olympus cameras have Wi-Fi capability. Look for the Wi-Fi logo on your camera, and ensure that it can connect to a computer and not just a smartphone.
- Press Menu/Wi-Fi Button: On your camera, press the Menu or Wi-Fi button to access the Wi-Fi settings.
- Select "Private Connection": In the Wi-Fi settings, choose the "Private Connection" option. This will allow your camera to create a private wireless network.
- Connect Your Computer: On your computer, connect to the wireless network with the SSID shown on your camera's display.
- Transfer Files: Once connected, you can transfer your camera files to your computer wirelessly.
It's important to note that wireless connection may not allow you to shoot photos or videos while transferring files, as the camera needs to be connected to the computer. Additionally, make sure your camera has sufficient battery life or is connected to a power source to avoid any interruptions during the file transfer process.
For more advanced wireless control, you can explore the Olympus Image Share application. This app allows you to control your Olympus camera remotely and import photos and videos to your smartphone or tablet. You can then share your media content directly with your family and friends. To set up the Olympus Image Share app, follow these steps:
- Download the App: Go to the Google Play Store or Apple App Store and download the Olympus Image Share app on your smartphone or tablet.
- Turn on Wi-Fi or Bluetooth: On your camera, go to the menu and enable Wi-Fi or Bluetooth. Look for network connections, usually found under the tools icon. Select 'Connect to smartphone'. Your camera will display a QR code.
- Connect Your Smart Device: Open the Olympus Image Share app on your device. Click on the tab with the Wi-Fi, camera, and Bluetooth icons at the bottom of the home screen. Select 'Easy setup', then 'Scan' to scan the QR code displayed on your camera's screen. Follow the on-screen instructions to complete the setup.
- Control and Transfer: Once connected, you can now control your camera remotely. Your camera will automatically send photos and videos to the Olympus Image Share app on your smart device.
By utilising wireless connection options, you can seamlessly transfer files, control your camera remotely, and share your creations with ease.
Capturing Camera HDMI Output: Stream to Your Computer
You may want to see also
![]()
Olympus Studio 2 software
The software offers several advantages over traditional camera control. Firstly, it allows users to evaluate images in full resolution on their computer monitors immediately after capture. This means that any issues with the photographs can be identified and rectified on the spot, rather than having to review them later on a larger screen and reshoot. Secondly, the software prevents blurring caused by manual shutter release, as the camera-microscope unit remains completely still when the shutter is released via the computer control. Finally, the software allows for direct storage of images on the computer's hard drive, eliminating the need to change the camera storage medium frequently.
To use the software, users must first connect their camera to the computer via a USB cable. Once connected, they can access the "camera control" menu within the "camera" menu on their computer. From here, they can download all the camera settings and make any necessary adjustments. Images can be captured by clicking the shutter release button, and they will be instantly displayed on the computer screen.
It is worth noting that when using the Olympus Studio 2 software with active remote control, the Live View mode on the camera's LCD display may not be accessible. To work around this limitation, users can connect an external screen via a video cable and ensure that the "VIDEO SIGNAL" is set to "ON" in the camera settings.
Alkaline Batteries: How Long Will Your Camera Run?
You may want to see also
![]()
OM Capture tethering software
OM Capture is a tethering application that connects compatible OM SYSTEM (Olympus) products to a computer for a more satisfying studio photography experience. With OM Capture, you can control the shutter release, camera settings, and transfer of photos either from the camera itself or the tethered computer.
OM Capture is compatible with OM SYSTEM (Olympus) cameras equipped with the tethering function. These include the OM SYSTEM OM-1 Mark II and OM-D E-M1 F/W version 2.0 or later. It is recommended to update your camera before using this software.
To download and install OM Capture, first download the OM Capture installer to your computer. Exit all other software applications, then double-click the installer to begin the installation. Follow the instructions on the installer to complete the installation. Note that this software requires a computer with a pre-installed operating system, and operation may not be guaranteed when using a home-built PC or upgraded operating system.
Once installed, you can link the program to OM Workspace for even greater studio photography support. With OM Capture, you can preview images live on screen and adjust camera settings from your computer. This allows you to evaluate images in full resolution on your PC monitor immediately after capture, store images directly on your computer's hard drive, and prevent blurring caused by movements of the camera when the shutter is released manually.
Panasonic Cameras with Post Focus: A Comprehensive Overview
You may want to see also
Frequently asked questions
You can connect your Olympus camera to your computer by using the supplied USB cable, an SD card reader, or a wireless connection.
The simplest method to connect an Olympus camera to a computer is by using the supplied USB cable.
To connect your Olympus camera to your computer wirelessly, press the Menu/WiFi button, choose the "Private Connection" option, and connect your computer to the SSID wireless network shown on your camera.