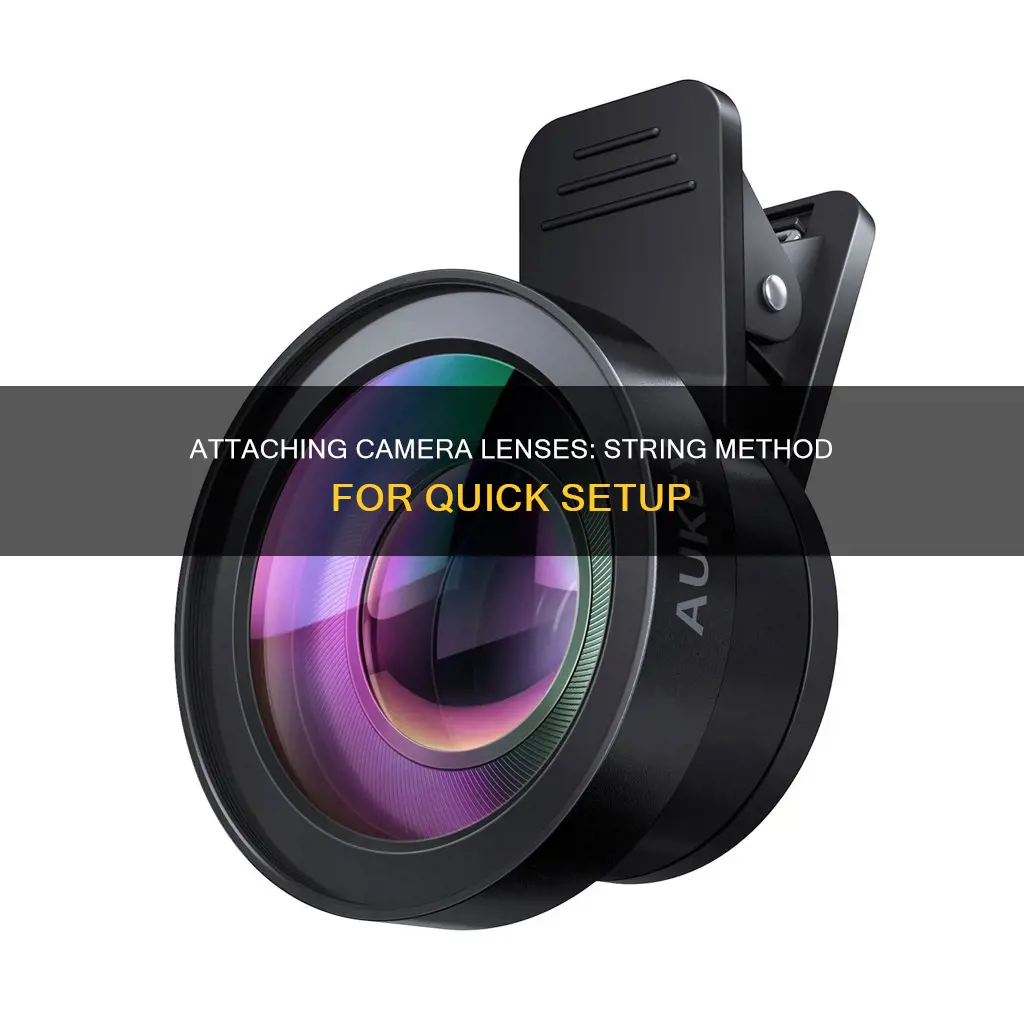
There are various ways to attach a camera lens cap with string to prevent losing it. One way is to use light strings with an elasticated section. You can carefully drill a small hole in the lens cap to attach the string, while the elasticated end goes around the lens body of large cameras, or you can attach it to the camera strap via a tiny luggage clip. Another method is to use hook-and-loop fasteners (Velcro or generic) on the lens cap and camera strap. You can sew a piece of the fastener onto the camera strap and glue the opposing fastener to the lens cap.
| Characteristics | Values |
|---|---|
| Type of string | Light string with an elasticated section |
| Where to attach the string | Drill a small hole in the lens cap to attach the string. The elasticated end goes around the lens body of large cameras or attaches to the camera strap via a tiny luggage clip. |
| Pros | Cheap and effective |
| Cons | The lens cap flaps around with any movement or in any breeze. It can also get in the way of the lens hood. |
| Alternative methods | Using a clip-on neoprene filter holder, putting lens caps in pockets, buying generic lens caps, or using a box to store lens caps |
What You'll Learn

Using a hook-and-loop fastener
The first step is deciding which side of the fastener you want on your lens cap and which you want on your camera strap. One option is to put the softer loop part of the fastener on the camera strap, so it doesn't have the sharp and raspy hook part that could get caught on your clothes. However, the downside to this is that the hook fastener on the lens cap can get caught in the fabric of your lens or camera case. Alternatively, placing the hook part on your camera strap will prevent the lens cap from getting caught in your camera case, but it may be uncomfortable and get caught on your clothing.
Once you've decided which sides go where, cut a piece of fastener that fits your camera strap and sew it on. It is suggested to round the edges slightly when cutting and to sew it on the left side so it doesn't interfere with the camera controls. Then, cut a small piece of the opposing fastener with rounded edges, as a smaller piece will prevent it from sticking too hard to the camera strap.
Before attaching the fastener to your lens cap, move all optics away from the lens cap, as superglue can fog the glass. Then, glue the fastener to the lens cap and let it dry thoroughly (about half an hour) before putting it on the lens.
Understanding Camera Lenses: Power of Convergence and Divergence
You may want to see also

Drilling a hole in the lens cap
Drilling a hole in a lens cap is a straightforward process, but it requires careful attention to detail and the right tools. Here is a step-by-step guide:
Choosing the Right Tools:
- Power Drill: Use a cordless drill for mobility and ease of use. Ensure it has a small chuck size to accommodate the small drill bit needed for this task.
- Drill Bits: Select high-speed steel (HSS) drill bits, which are durable and effective for cutting through metal. Choose a small drill bit, slightly smaller or bigger than 5/16", depending on your preference.
- Safety Goggles: Protect your eyes from any flying debris or metal shavings by wearing safety goggles throughout the drilling process.
- Clamps or Vise: Use clamps or a vise to securely hold the lens cap in place during drilling, ensuring stability and precision.
Preparing the Lens Cap:
- Choose the Spot: Decide on the location for the hole and mark it with a pencil to ensure accuracy.
- Secure the Lens Cap: Place the lens cap in the clamps or vise, ensuring it is positioned horizontally for easy drilling.
Drilling the Hole:
- Wear Safety Goggles: Put on your safety goggles before starting to protect your eyes from any debris.
- Select the Drill Bit: Choose a drill bit that matches the desired size of the hole. It is recommended to start with a smaller drill bit and gradually increase the size if needed.
- Set the Drill Speed: Adjust the drill to a medium speed to prevent slipping or damaging the lens cap.
- Begin Drilling: Position the drill bit at the marked spot and apply gentle pressure. Drill slowly and steadily, allowing the drill bit to gradually penetrate the material. Take breaks to prevent the drill bit from overheating.
- Clean the Hole: Once the hole is drilled, remove the lens cap from the clamps or vise. Use sandpaper or a file to smoothen any sharp edges around the hole, ensuring a safe and clean finish.
Additional Tips:
- Before drilling, make a small indentation with a push-pin at the marked spot to help the drill bit stay centred and prevent slipping.
- When drilling, maintain a straight 90-degree angle to the lens cap for the most precise hole.
- If you don't have a drill, you can try pushing a small screw or nail through the centre, then gradually increasing the size of the hole with larger screws or nails.
- Roll up a small piece of sandpaper and clean the inner edge of the hole after drilling to remove any stray pieces of plastic or metal.
Tomorrow's Eclipse: Camera Lenses at Risk?
You may want to see also

Attaching a small clip
One method for attaching a small clip to your camera involves using a hook-and-loop fastener (Velcro or generic) on the lens cap and on the camera strap. You can sew a piece of the fastener onto your camera strap, and glue the opposing fastener to the lens cap. This will allow you to easily attach and detach your lens cap to the camera strap.
Another option is to use a small clip-on neoprene filter holder. You can clip this to your camera strap, bag, or belt loop, providing a convenient way to store your lens cap without it flapping around or getting in the way of your lens hood.
Additionally, some lens caps come with a built-in tether, or you can purchase a lens cap leash or lanyard separately. These options typically involve attaching a string or rope to your lens cap and then connecting it to your camera strap, lens body, or another part of your camera.
Finally, if you're feeling crafty, you can make your own tether by drilling a small hole in the lens cap and attaching a string or cord. This method allows you to customise the length and type of cord used to secure your lens cap.
Understanding Camera Lenses: Describing the Basics
You may want to see also

Using a lens cap leash
- Purchase a lens cap leash: You can find these online or at camera stores. They are usually inexpensive and come in packs of 5 or more.
- Prepare the lens cap: Check if your lens cap has a hole or loop. If it doesn't, you will need to carefully drill a small hole in the lens cap to attach the leash.
- Attach the leash to the lens cap: Most lens cap leashes have a small adhesive button or disc that sticks to the front of your lens cap. Make sure the adhesive is secure and firmly attached to the lens cap.
- Stretch the elastic band around the lens: The lens cap leash should have an elastic band that stretches to fit snugly around the circumference of your camera lens. This will keep the lens cap attached to your lens even when it's removed.
- Adjust as needed: Depending on the lens cap leash you purchase, you may need to adjust the length of the cord or the tightness of the elastic band to ensure a secure fit.
- Remove and store when not in use: When you're not using the camera, remove the lens cap and store it safely. The lens cap leash will keep it attached to your lens, so you don't lose it.
- Consider using a lens cap pouch: If you prefer not to have the lens cap dangling from your lens, you can use a lens cap pouch to store it when not in use. This can be attached to your camera strap or belt loop for easy access.
The Evolution of Point-and-Shoot Cameras: Multiple Lenses, Many Possibilities
You may want to see also

Using a lens cap pouch
Step 1: Prepare the Pouch
Purchase a lens cap pouch that is specifically designed to fit your camera lens. These pouches are usually made of soft, padded fabric and have a drawstring or elastic closure. Make sure the pouch is clean and free of any debris before inserting your lens.
Step 2: Insert the Lens
Remove the lens from your camera body and place it inside the pouch. Ensure that the lens fits snugly and securely within the pouch. Gently pull on the drawstring or elastic closure to tighten it around the lens, creating a protective barrier.
Step 3: Attach the Pouch to Your Camera
Most lens cap pouches come with a built-in attachment mechanism, such as a clip or a loop. Attach the pouch to your camera strap or to a secure point on your camera body. This ensures that the pouch remains with your camera at all times, even when the lens is in use.
Step 4: Transport and Store Your Lens Safely
With the lens cap pouch attached, you can now safely transport and store your camera lens. The pouch will protect the lens from scratches, dust, and other damage. When you need to use the lens, simply remove it from the pouch and attach it to your camera as usual.
Step 5: Care and Maintenance
To prolong the life of your lens cap pouch, it is important to care for it properly. Hand-wash the pouch gently with mild soap and water if it becomes soiled. Allow it to air dry completely before using it again. Inspect the pouch regularly for any signs of wear and tear, and replace it if necessary.
What Shape Makes Camera Lenses Work?
You may want to see also
Frequently asked questions
You can use a light string with an elasticated section. Drill a small hole in the lens cap to attach the string, and attach the elasticated end to the camera strap via a small luggage clip.
You can use a hook-and-loop fastener (such as Velcro) to attach the lens cap to the camera strap. You can also purchase lens caps with tethers built-in, or use a small clip-on neoprene filter holder.
Some photographers find that the lens cap flaps around with any movement or breeze, and it can also get in the way of the lens hood.
You can remove or disconnect the tether when it is windy, or opt for a different method such as a clip-on filter holder.
Some photographers choose to store their lens caps in their pockets or a designated box, or purchase multiple generic lens caps so they don't have to worry about losing them.


